The following blog post shows some details of my SMD soldering process. This was based on a larger video I did (linked below) showing the entire soldering process.
Video of Soldering Setup
The following shows me soldering a complete board with BGA device.
Equipment Used
In the above video, there are several pieces of equipment used. The following shows you some of the important ones.
Reflow Oven
I’m using a T962A reflow oven. I recommend this over the T962, which is a smaller version. The T962A has 3 heat lamps so has a more even heat distribution. Be aware you can’t use the full surface area – about the middle half I find is successful, but depends a little on complexity of the PCB.
I specifically purchased mine from this seller on AliExpress, check other sellers as prices change over time. You might turn it on quickly to confirm it works, but before doing much there are some important fixes:
- Removing masking tape, replace with Kapton (Polymide) tape. See instructables post for details.
- Fixing missing ground connections. Some versions have poor grounding between the outer (metal!) case and the wall plug. See the wiki page for a photo of this fix.
- Updating the firmware and adding a cold-junction sensor. This is the most complex task, and requires soldering a DS18B20 to the mainboard, then using a USB-Serial adapter to reflash the firmware. See the front page of the T962-Improvements Github Repo, which has links to the required soldering. There is also an optional fix to reduce the very noisy small fan.
Fume Hood
I built a fume hood out of the following:
- 2×4’s for frame.
- Thick plastic drop-sheet.
- Powerful vent booster fan with variable speed control.
- Active charcoal oven range hood filter (mounted in top of fume hood).
- Active charcoal filter for car cabin (mounted in cardboard box used as exhaust).
You can also improve one out of a range hood from an oven. See video for general fume hood construction.
Manual Pick-n-Place

This requires three things:
- Vacuum pump, which you can make from a Tetra Whisper pump (see instructables link). Get some of the nice silicon tubing at the same time (like $3 from Amazon).
- Syringe with hole drilled into body. You can get syringes (don’t need the pointy bit!) from pharmacy, or order from Newark/Digikey. When you cover the hole, you force the vacuum through the tip, picking up the part. Release your finger from the hole to drop the part. See the above video for details.
- The tips for pick and place, which are “Luer Lock” needles bent slightly (for small parts) or commercially available tips (for larger parts).
The tips are the only somewhat tricky thing. I had a good selection from a previous SMD picker tool, something like this kit for example (which is Chip Quick Inc. part #V8910). These tips are actually the same “Luer Lock” that fits into syringes, check E-Bay for cheaper kits:

You can also buy Chip Quik Inc part #VCS-9-B which has a bunch of these tips. It’s not the cheapest way, but if you are in a hurry will do! But all of these tips are for larger parts (i.e. maybe SOT23-3 at smallest). If you get into chip resistors, you need to go smaller.
For the small parts, you can bend “needle tips” slightly. You can buy packs of 50 from Digikey (search “Luer Lock”), but might find it cheaper to get individual ones from either medical supply places, or buying products which use them. For example some static-safe squeeze bottles come with a few tips. Again the expensive but easy route is Chip Quik part # SMDTA200 which has a bunch of different sized tips.

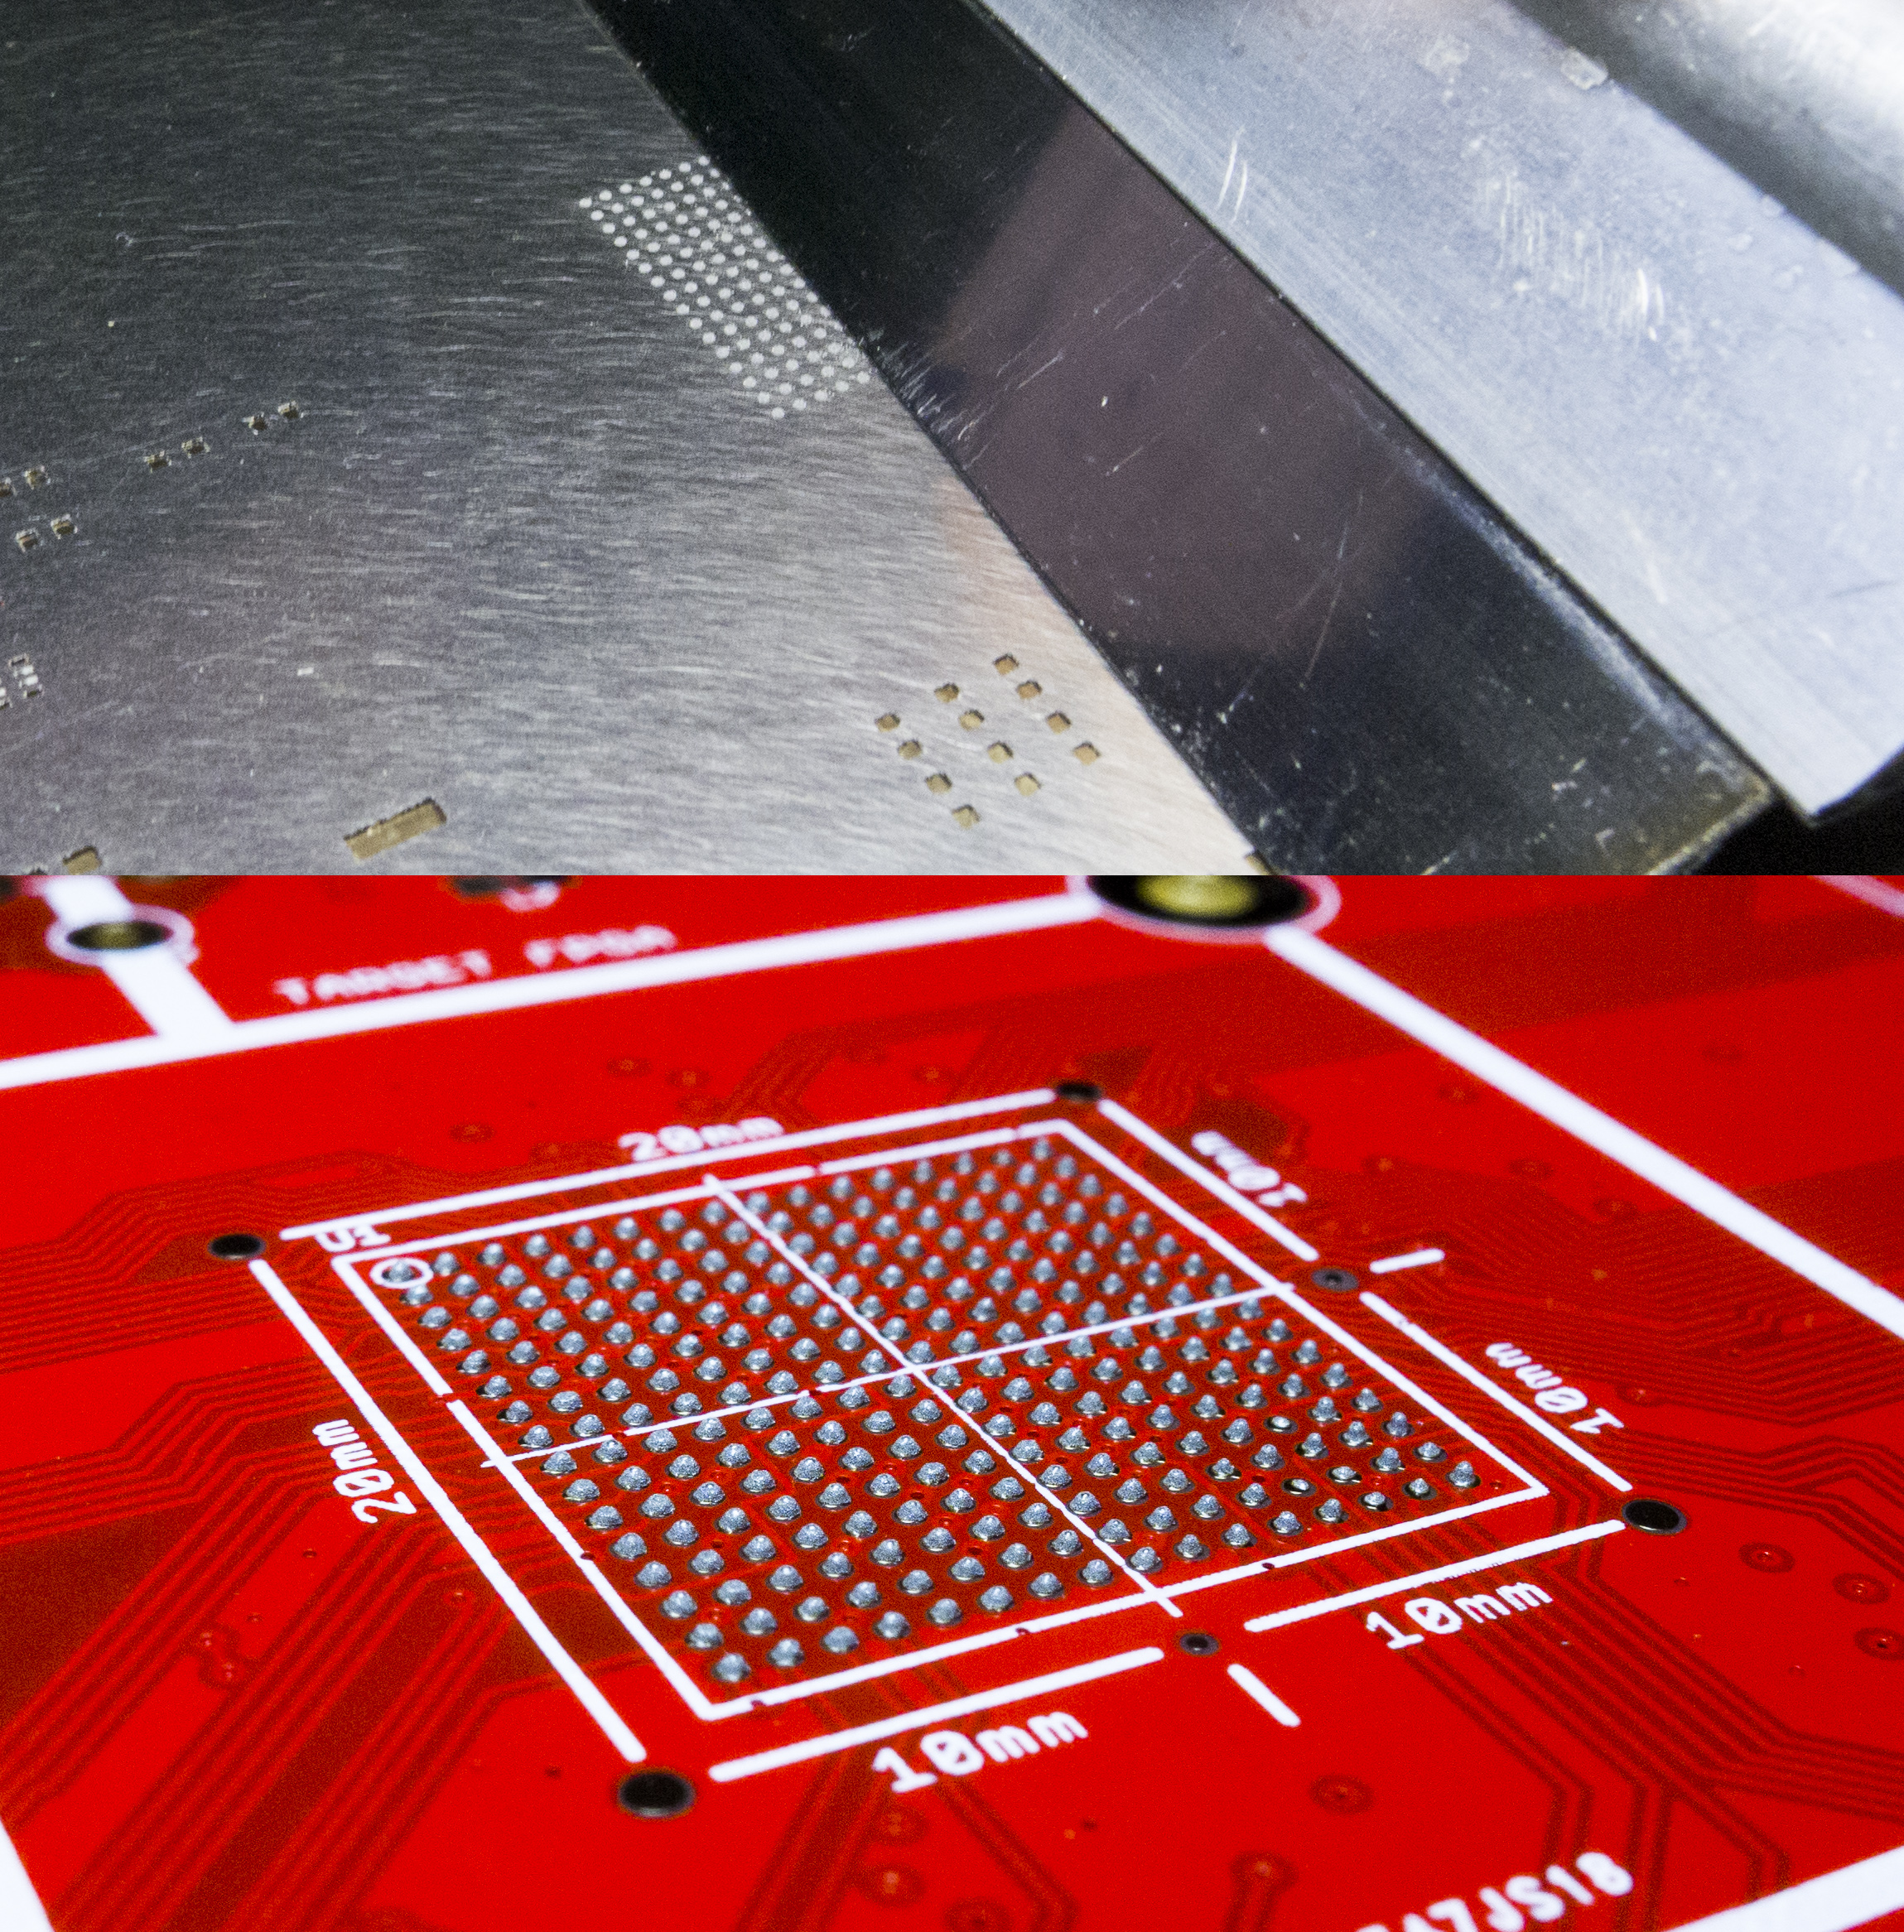
Stencils
There is three main options for stencils:
- Laser cut stainless steel.
- Third-party cut Kapton film.
- Self-cut Kapton/Mylar film.
For laser-cut stainless steel, this can typically be ordered with your PCB fab. For example 3PCB.com and Dirty PCBs offer them very cheaply (~$25) when ordering PCBs. This is almost always the best choice, as the stainless steel stencils are very reliable and I’ve had great success with BGA devices.
You can also use third-party services to cut Mylar or Kapton film for you. OSHStencils is one example of a supplier.
Finally, you can make your own. You’ll need some practice to cut BGA parts, but it’s quite easy to cut stencils for less demanding applications. I have a previous blog post on my method.
I’ve been making my own stencils with this process for some time with great success.
Solder Paste/Squeegee
I purchased the squeegee from Dirty PCBs. There are some other blog posts on squeegee options you might look at.
I generally just buy solder past from Digikey. Digikey does a great job of cheaply shipping to Canada, and the paste comes in an awesome cold pack thingy that keeps it cool during the trip. Chip Quik (again with the Chip Quik sorry, I don’t have a connection with them but just end up using their stuff!) sells some nice small syringes. Be aware it does have a shelf life… I’ve used past about 6-12 months paste that date, but you will eventually see issues (balling, flux separates). I recommend keeping to the suggested date to avoid giving yourself the headache of discovering your paste is bad after you’ve tried soldering your PCB. The cost of all your parts is probably a lot more expensive than the cost of replacing your paste.